

Views: 0 Author: Site Editor Publish Time: 2026-09-03 Origin: Site


Transitioning from fixed-path machines or bodyweight routines to free weights marks a significant milestone in your fitness journey. You suddenly unlock endless movement possibilities and immense strength potential. The freedom of movement builds incredible core stability. However, maximizing your return on physical investment presents a serious challenge. You must navigate a steeper learning curve while actively managing injury risks. Haphazardly lifting heavy objects often leads to stubborn training plateaus or chronic pain rather than meaningful physical progress. You need a solid strategy to thrive. This article provides a definitive, evidence-backed framework for your success. We strip away fitness industry hyperbole to offer a transparent, practical guide. You will discover exactly how to evaluate different modalities based on evidence. You will also learn how to select the right equipment, structure safe routines, and scale your progression effectively.
Modality Matching: Aligning your specific goal (hypertrophy, functional strength, mobility) with the correct tool dictates your success rate.
Scalability over Complexity: Master progressive overload with foundational movements before adopting highly technical variations.
Risk Mitigation is Mandatory: Free weights require strict adherence to biomechanical form; treating form as a non-negotiable metric prevents chronic injury and training plateaus.
Actionable Progression: Establishing clear success criteria (volume, intensity, frequency) is required to avoid stalled progress.
Trainees often select equipment based on popularity rather than mechanical advantage. They see influencers using complex tools and assume those tools guarantee success. This approach ignores goal alignment. You must match the specific modality to your anatomical goals. Let us evaluate the four primary tools available to you.
The Dumbbell serves as an excellent starting point for most trainees. It provides high versatility and presents a very low barrier to entry.
Evaluation: They are best for correcting unilateral imbalances. You can train each arm or leg independently. They also maximize your range of motion during pressing and pulling exercises.
Limitation: They become difficult to micro-load accurately at heavier weights. Moving from a 50-pound to a 55-pound weight represents a massive 10% jump. This steep jump often stalls progression.
The Barbell remains the undisputed king of heavy lifting. It allows you to move the maximum amount of weight efficiently.
Evaluation: It stands as the industry standard for absolute strength. Heavy lifts drive systemic nervous system adaptation. You recruit maximum muscle fibers during squats and deadlifts.
Limitation: It requires substantial space if you build a home gym. Furthermore, it demands strict mobility prerequisites. Poor shoulder or ankle mobility makes lifting a straight bar dangerous.
The Kettlebell shifts the center of gravity away from the handle. This unique design changes how your muscles engage.
Evaluation: It proves ideal for ballistic movements and conditioning. Swings and snatches build tremendous posterior chain development. They also save space.
Limitation: You face a high technical learning curve. Improper form during swings quickly agitates the lower back. Additionally, weight jumps traditionally remain steep, often progressing in 4kg increments.
The Macebell features a highly uneven weight distribution. You hold a long lever while controlling a heavy globe at the end.
Evaluation: It delivers superior results for shoulder resilience. It challenges your grip strength and demands multi-planar movement. You build incredible rotational core stability.
Limitation: It remains highly specialized. You cannot use it for primary hypertrophy. It will not help you achieve maximal absolute strength goals.
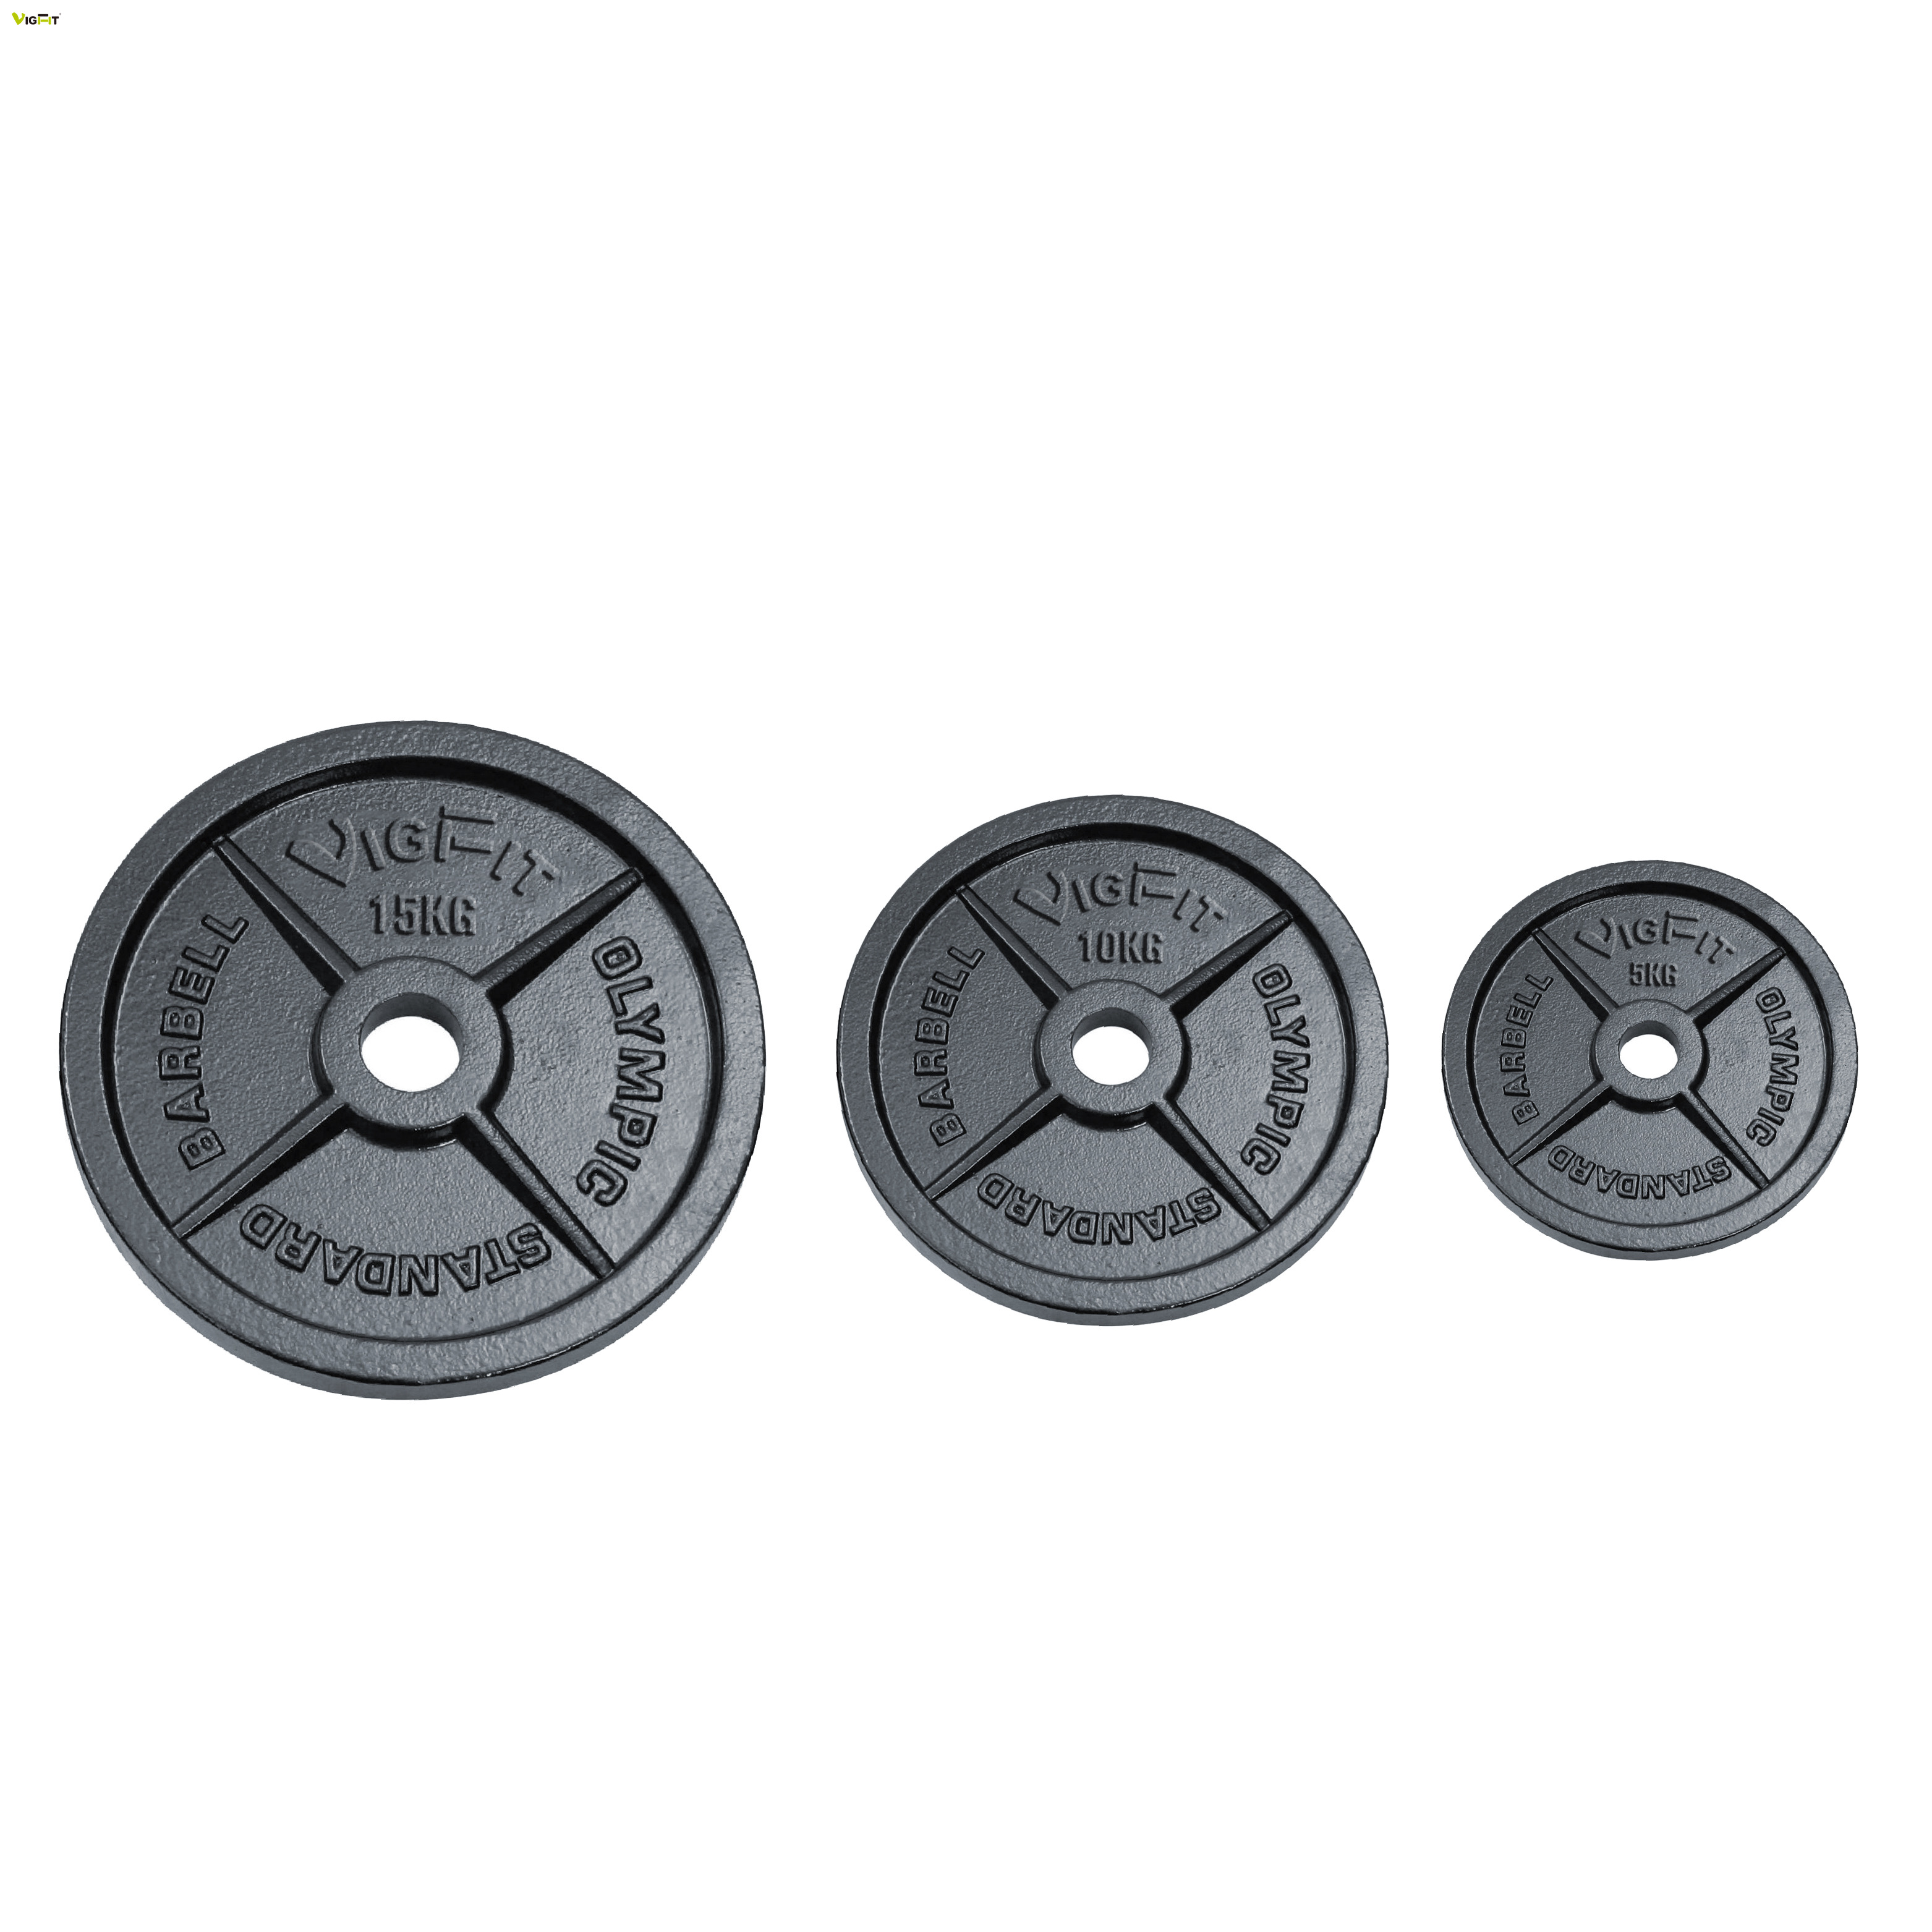
You need a structured way to evaluate efficiency. Simply sweating in the gym does not equal productive training. We use specific criteria to measure real progress. These criteria strip away the guesswork and focus your efforts on measurable outcomes.
You must match the mechanical tension of the tool to the targeted muscle group. Different tools offer different resistance profiles. A bicep curl feels hardest at the midpoint. A squat feels hardest at the bottom. Evaluate how a tool changes the tension curve. You want the tool to challenge the muscle fully throughout the movement. If a tool fails to provide adequate tension, you waste valuable energy.
Assess how easily you can increase the stimulus. Progression requires incremental increases over time. Your primary metric should be simple: Can you add 1–2% total volume week-over-week?
A standard bar excels here. You can add fractional plates to increase weight by just one pound. Other tools present challenges. If you swing a heavy bell, you cannot easily add one pound. You must manipulate your training volume instead. You increase repetitions or reduce rest periods before attempting a heavier bell.
Home gym builders must compare footprint and cost-per-pound. Consider the physical space required for an adjustable setup versus a fixed ecosystem. A set of adjustable dumbbells requires minimal floor space. They cost more upfront but replace an entire rack of fixed weights. A heavy rack setup demands dedicated square footage. It requires heavy-duty flooring and substantial financial commitment. You must align your budget and available space with your training goals.
Free Weight Modality Comparison
| Modality | Best For | Scalability Rating | Space Requirement |
|---|---|---|---|
| Adjustable Dumbbells | Hypertrophy, Imbalance Correction | Medium (Hard at high weights) | Very Low |
| Fixed Straight Bar | Absolute Strength, Power | Very High (Micro-loading possible) | High (Needs rack & plates) |
| Cast Iron Kettlebells | Conditioning, Ballistic Power | Low (Steep weight jumps) | Low |
| Steel Mace | Mobility, Rotational Core | Low (Highly specialized) | Medium (Needs swing space) |
Randomly moving between exercises sabotages your results. You need an architectural plan for your sessions. A well-structured routine manages your fatigue. It ensures you perform the most complex movements when your brain and body feel freshest.
Order your movements carefully. You must sequence them from highest neurological demand to lowest. Heavy squats or dynamic swings heavily tax your central nervous system (CNS). If you perform isolation work first, you pre-fatigue stabilizing muscles. This pre-fatigue ruins your form on heavy lifts.
Follow this standard sequence for optimal results:
Perform explosive or heavy compound movements first.
Move into secondary multi-joint exercises.
Finish your session doing single-joint isolation work.
You need clear assumptions regarding volume. Doing too much volume pushes you into overtraining. Doing too little leaves muscle adaptation un-triggered. A natural trainee typically needs 10 to 20 hard working sets per muscle group per week.
Intensity matters just as much. You must take working sets close to failure. Stop 1 to 2 reps shy of technical failure. This threshold triggers adaptation without frying your CNS. Transparently tracking your volume prevents you from guessing your progress.
Maximize your time using the 80/20 rule. Dedicate 80% of your workout to multi-joint compound movements. These movements deliver the highest return on your energy investment. They build serious mass and systemic strength.
Reserve the remaining 20% for unilateral work or mobility-focused exercises. Use this time to fix imbalances or improve joint health. This strict allocation prevents you from wasting an hour on minor isolation curls when your back and legs need heavy tension.
Safety is not just a buzzword; it is a required metric for success. An injury resets your progress by months. You must adopt a risk mitigation mindset to train heavily and consistently.
Many beginners view heavy lifting as inherently dangerous compared to machines. Machines lock you into a fixed path. This fixed path feels safe initially. However, machines fail to train your stabilizing muscles. When you transition to lifting raw iron, your stabilizers remain weak. Heavy lifting is not inherently dangerous. Lifting without proper technique and stabilizer strength is dangerous. Proper loading actually fortifies your joints and connective tissues.
You must implement essential safety infrastructure. Never attempt maximum lifts without proper safeguards.
Spotter Arms: Always use heavy-duty spotter arms when squatting or pressing alone. They catch the weight if you fail.
Proper Footwear: Ditch the cushioned running shoes. Use flat-soled shoes or lift barefoot to ensure a stable base.
Designated Zones: Keep lifting platforms clear of clutter. Tripping over plates while holding a heavy load ends in disaster.
Establish a strict framework for self-auditing your form. Treat poor form as a failed repetition. Do not count reps where your lower back rounds or your shoulders shrug out of position.
Best practices include recording your sets on your phone. Review your spine alignment and bar path between sets. If you cannot objectively assess your technique, hire a coach. Paying for two sessions to learn technical lifts pays dividends over a lifetime of training.
You must possess baseline joint mobility before loading a movement pattern. Failing to meet mobility prerequisites forces your body into compensatory movement patterns. If your ankles lack dorsiflexion, your torso leans forward during a squat. This puts massive shear force on your lower back. You face eventual injury if you ignore these prerequisites. Always screen your mobility before adding heavy plates.
Knowledge requires execution. You now understand the tools and the safety requirements. We must construct a systematic action plan. Follow these exact steps to build your custom routine.
Step 1: Define the Primary Success Metric. You must choose one primary goal. Are you adding 10 pounds of muscle? Are you improving cardiovascular endurance? Choose one priority. You cannot effectively peak in multiple domains simultaneously.
Step 2: Tool Selection. Filter your modalities against your primary metric, budget, and current skill level. Choose fixed bars for pure strength. Choose adjustable bells for balanced hypertrophy on a budget. Do not buy niche rotational tools if your goal requires heavy pressing.
Step 3: Baseline Testing. Establish your current metrics. Test your one-rep maxes safely. If you avoid maxing out, establish your five-rep max. Record your baseline work capacities. You must ground your future progression in hard data. Feelings lie; training logs tell the truth.
Step 4: Routine Commitment. Lock into a formalized program for 8 to 12 weeks. Program hopping destroys progress. Your nervous system needs time to adapt to specific movement patterns. Only re-evaluate your chosen modality after completing the full training cycle.
Getting the most from your workout ultimately becomes an exercise in resource management. You must match the right tool to the right anatomical goal. Every movement demands energy. You must spend that energy where it yields the highest return.
Prioritize progressive overload above all else. Your muscles only grow when forced to adapt to a new stimulus. Maintain strict form to keep your joints healthy. Ignore equipment novelty and fitness fads. Mastering the basics with a heavy, unbalanced load will completely transform your physical capabilities. Stay consistent, log your data, and watch your strength soar.
A: It depends on the context. Machines offer immense stability, making them excellent for pure hypertrophy. They let you isolate a muscle without systemic fatigue. However, lifting raw iron builds your stabilizing muscles. It develops superior functional strength and spatial awareness. A well-rounded program often utilizes both for maximum results.
A: Always set spotter arms at the bottom of your range of motion for heavy squats and bench presses. If you fail, slowly lower the bar onto the pins. For heavy pressing with individual bells, carefully guide them to your knees or drop them in a controlled manner outside your body line.
A: You can, but you must avoid "kitchen-sink" programming. Doing too many highly technical movements creates severe neurological fatigue. Pick one primary heavy lift. Use the dynamic tools for conditioning or targeted mobility work at the end. Keep your focus narrow to drive adaptation.
A: Beginners should use the Rate of Perceived Exertion (RPE) scale. Start with a weight that feels like a 6 out of 10 in difficulty. You should easily complete your target reps while feeling you could do 3 or 4 more. Prioritize learning perfect technique before pushing the intensity higher.


